Check the status of your wireless connection - Windows Vista
To check the status of your wireless network connection with the Sky wireless router, follow the steps below.
-
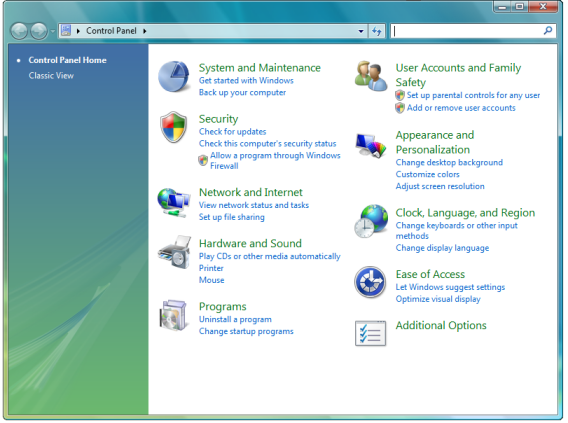
From your desktop, click on Start and select Control Panel.
-
From the Control Panel window, select Network and Internet.
-
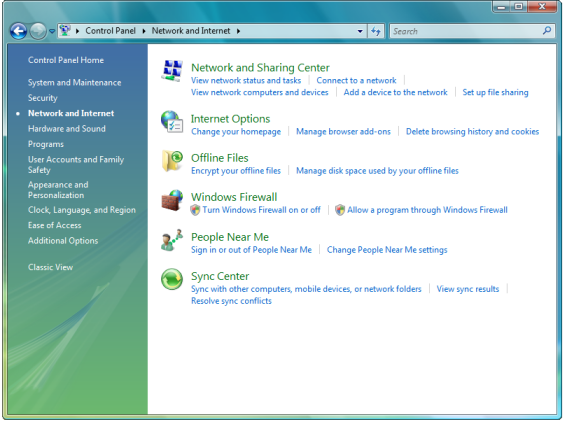
Select the Network and Sharing Center.
-
In the Network Sharing Center Window, click on Manage network connections to the left, the screen below shows that the PC is connected to a wireless network, but has not received an IP via DHCP.

-
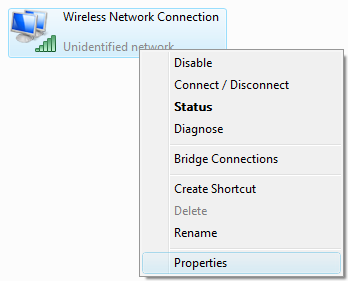
In the Manage Network Connections window, look for the Wireless Network connection. To assign an IP address to the connection manually, right click on Wireless Network connection and left click on Properties.
-
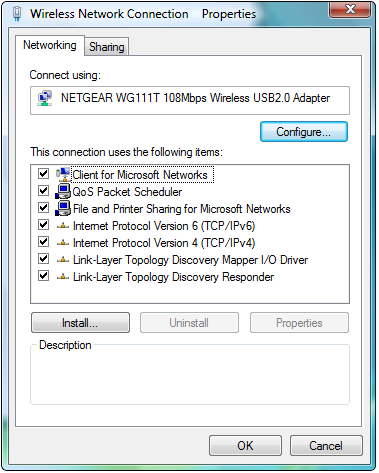
In the Wireless Connection Properties window, scroll down in the 'This connection uses the following items' window until you see Internet Protocol Version 4 (TCP/IPv4) - click this once, then select Properties
-
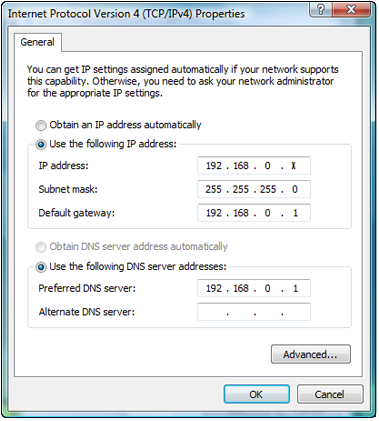
In the Internet Protocol Version 4 (TCP/IPv4) window:
- Select Use the following IP address
- Set the IP address to: 192.168.0.X (where X must be a number of your choice between 2 and 254 and should be unique for each PC connecting to the Sky wireless router)
- Set the Subnet Mask to 255.255.255.0
- Set the Default gateway as 192.168.0.1
- Select Use the following DNS server addresses
- Set the Preferred DNS server to 192.168.0.1
- Leave the Alternate DNS server blank
- Once completed, the details should look similar to the image below. Click OK.
-
Click OK again on the Wireless Network Connection Properties window.
-
Restart your computer and open a web browser to check if you can now browse the web using your broadband service.