Check your IP settings - Windows Vista
To check that your local area connection is enabled and configured correctly, follow these steps.
-
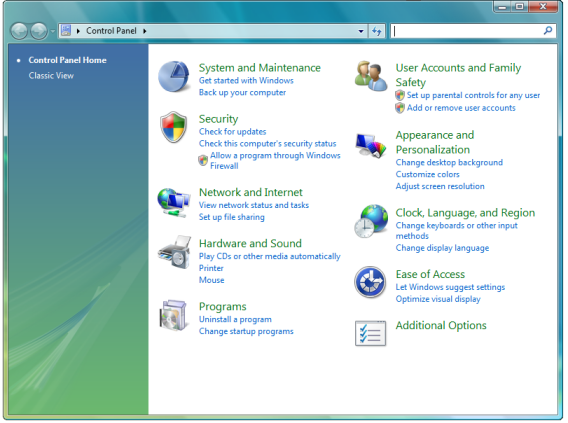
From your desktop, click Start and select Control Panel.
-
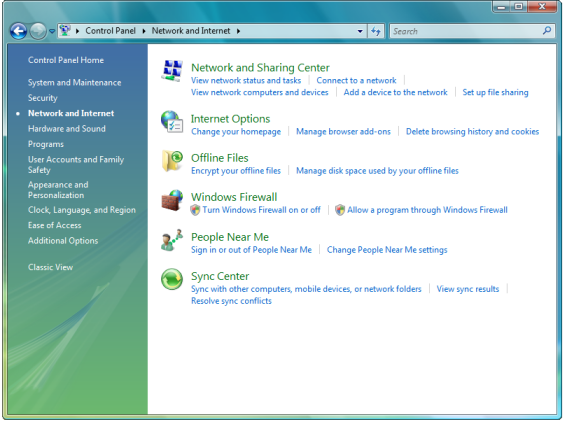
From the Control Panel window, select Network and Internet.
-
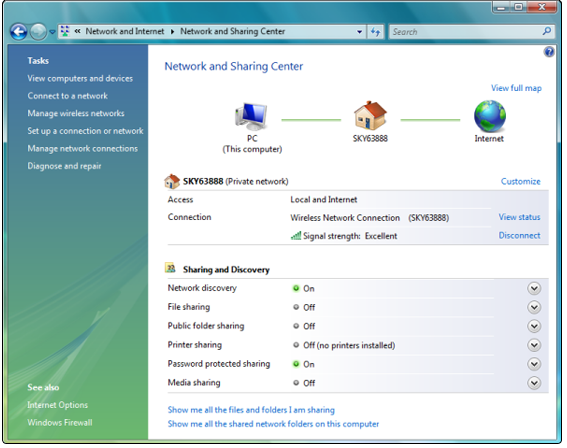
In the Network and Internet Connections window, select Network and Sharing Center.
-
In the Network and Sharing Center window, click on Manage network connections to the left.
-
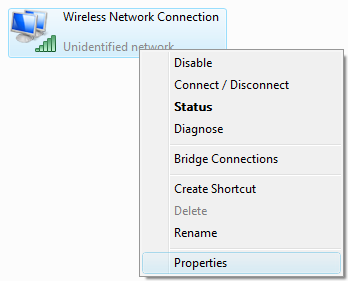
In the Manage Network Connections window, right click on the Wireless Network Connection icon.
In the menu that appears, if the top option is Enable, click on this to enable your wireless connection If the top option is Disable, click on Properties at the bottom of the menu
-
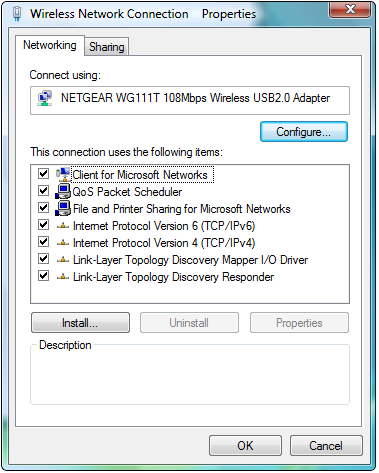
In the Wireless Network Connection Properties window, scroll down in the window 'This connection uses the following items' until you see Internet Protocol Version 4 (TCP/IPv4) - click this once, then select Properties.
-
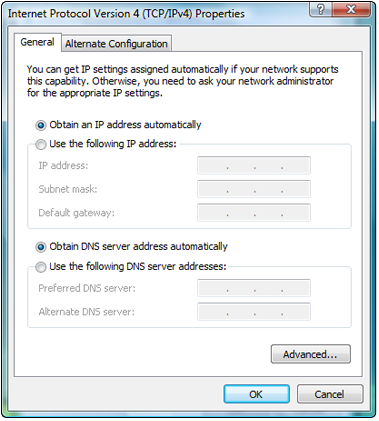
By default TCP/IP should be configured to obtain the IP address and DNS automatically (from the router) as below:
-
Restart your computer and open a web browser to check if you can now browse the web using your broadband service.